
Landscape photos are a common subject for obvious reasons: often natural beauty is so plentiful and striking that we naturally want to capture it to film. Sadly, often times the images come out different from what we expect, failing to capture the essence of the nature in front of us. After trying a few times, it’s clear that there’s more to capturing a great landscape than simply whipping out your camera and snapping a few photos. Here are a few tips that will improve your nature photography, allowing you to better capture that ephemeral vista before you.
Thank you to Lakeland Dumpster Rental for supporting the blog and making this post possible. For any dumpster rentals in Lake County Florida, call Lakeland Dumpster Rental at (863) 267-8228, or visit them at 817 Golden Rule Court North Lakeland, FL 33803.
- Properly Compose Your Shot
It’s important to compose the elements of your picture properly so the viewer’s eye is drawn purposefully through the image, telling a story. The rule of thirds is an effective method for composing your landscape photography. Simply break up your image into thirds vertically and horizontally using imaginary gridlines (many digital cameras also have the option to actually display these gridlines on your screen), and then position the main elements of your image at the intersection of the lines or on the lines themselves. Many novices take photos placing their subjects at the center of the image, but if you try the same photo placing the subject at one of the intersections, you’ll notice that the picture is balanced much better, and is much more visually appealing.
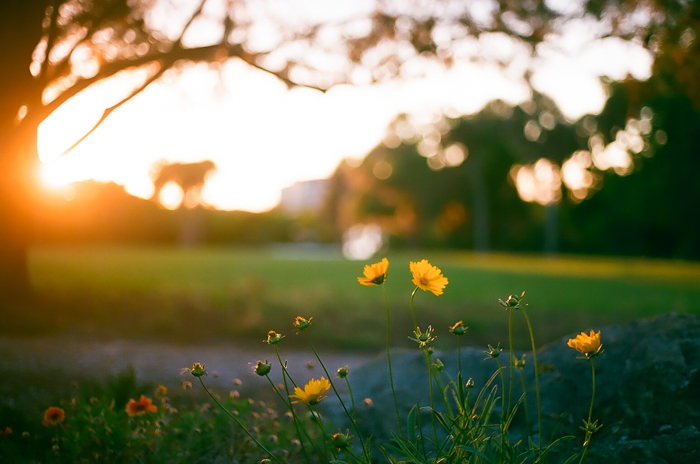
- Photograph at Golden Hour
There is a saying in the film industry that goes, “God is the greatest gaffer,” essentially meaning that the best light is natural light. Golden hour refers to the time period just after the sun rises and just before the sun sets, because of the naturally beautiful, diffused light created by the sun being low in the sky. Golden hour naturally creates a warm image with long shadows, adding an interesting level of depth to the scene. There is a reason why many photographers go out at this time of day to take photos! You can of course take photos at other times of the day, but note that during midday the sun might be especially harsh. You can try to soften the image by taking photos from a shaded area or waiting until a cloud passes of your subject.
- Use a Mid-Range Aperture
Using a mid-range aperture will help you capture a sharp, clear image that is desirable when doing landscape photography. To get a nice, sharp image, use an f-stop number that’s around 2 to 3 stops higher than the lowest possible. If you try to use an aperture that’s too far toward either end of the spectrum, such as f/2.8 or f/22, you will notice a slight reduction in clarity, which you don’t want.
Often the beauty of being in nature is that it captures a fleeting sense of wonder that is particularly hard to replicate. Hopefully with a few of these tips, you’ll be able to take a little bit of that wonder home with you.